Posts

Showing posts from March, 2015

Demote Last Domain Controller

Image
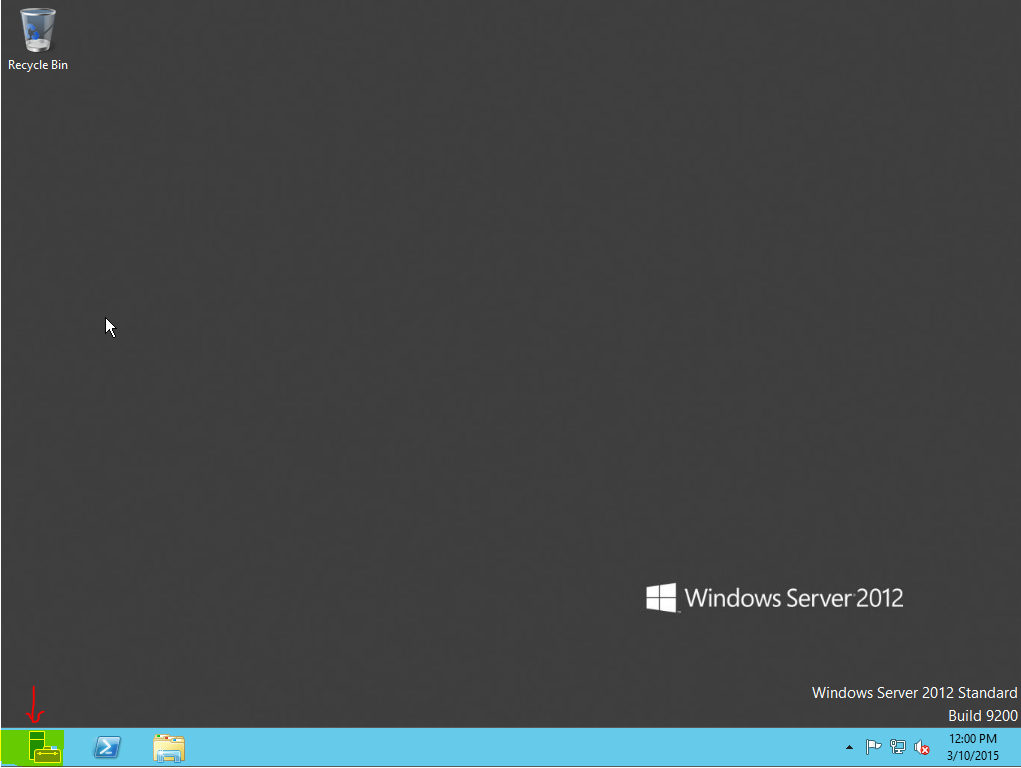
Demote Last Windows 2012 Domain Controller. Steps to Demote Domain Controller. > Loging to the Domain controller with Administrator user. > Click on Server Manager ikon on the Desktop. > In Server Manager windows click on Manage button and than select " Remove Roles and Features " > In Remove Roles and Features Wizard click Next to continue. > Select Domain Controller which needs to demote and click Next to continue. > Select Active Directory Domain Services and click Next to continue. > Select .NET Framework 4.5 Features . > Select Remove Features button to continue. > Select Demote this domain controller option. > In Active Directory Domain Services Configuration Wizard select Last domain controller in the domain option and click Next to continue. > Select Proceed with removal and click Next to continue. > Select " Remove this DNS zone " , " Remove app

Cobbler server without DHCP IPs

Image
Cobbler server without DHCP IPs. Cobbler server using dhcpd service to authenticate client MAC address and don't allocate DHCP IP address to client. Cobbler server allocate static IP to the client machine and start Operating System installation. Steps to configure dhcpd service without dynamic IP range. > Loging to the DHCP server with root / sudo user. and edit dhcp.conf file.  Command: # cd /etc/dhcp          ----- Go to DHCP directory                      # vi dhcpd.conf        ----- Edit dhcpd.conf file. Dom the changes as per following screen ( Test mark in Yellow ) in dhcpd.conf file   range dynamic-bootp        172.30.0.5 172.30.0.5; Note: - 172.30.0.5 is my dhcp server IP, You can put your lab dhcp server ip here. :wq      ----- Save teh file and exit. > Restart DHCP server  Command: # service dhcpd restart > Go to cobbler directory and edit dhcp.template file. Command: # cd /etc/cobbler                ----- Go to cobbler directory

Create and manage Virtual Hard Disk

Image
Create and manage Virtual Hard Disk.   Windows Server 2012 Hyper-V provides several ways to create virtual disk files. You can create them as part of a VM or create them at another time and add them to a VM. Virtual Hard Disk also allow to attach Host computer and store the data. Steps to create Virtual Hard Disk. > Log on to the server running Windows Server 2012 using an account with administrative privileges.    Click on Server Manager ikon on the desktop.   > In Server Manager window click on Tools and select Computer Management option. > In Computer Management window select Disk Management option. > Click on Action tab and select Create VHD . > In Create and Attach Virtual Hard Disk window select Virtual hard disk size: in GB and click on Browse... option. > Select Hard drive where you want to create Virtual Hard disk and specify Virtual Hard disk name.  Than click on Save button. > Define Virtual hard disk s

Update Cobbler Server

Image
Update Cobbler Server Version 2.6.3 to 2.6.7 Following document is useful to upgrade Cobbler Server version 2.6.3 to new version 2.6.7 on CentOS 6.5 x86-64 / RedHat 6 x86-64. Steps to  update Cobbler Server. > Check the Cobbler server version from command line. Command: # cobbler version  > Check the Cobbler server version from GUI Web based mode.  Loging to the URL ( https://Cobbler server IP/cobbler_web ) with user name cobbler and provide we based user password. Current version will display like following screenshot. ( Cobbler 2.6.3 ) > Update python packages. Command: # yum update python* > Update Cobbler server packages. Command: # yum update --enablerepo=epel-testing cobbler > Once Cobbler server upgrade you will get warning message which is marked in yellow text in following scrrenshot. Cobbler server create new settings file rename it and store in /etc/cobbler/settings.rpmnew. > Update Cobbler-web service packages. Co