Posts

Showing posts from January, 2015

KVM Live Migration without Shared Storage

Image
KVM Guest VM Live Migration without Share Storage ----- Prerequisites ----- > Ruining Guest virtual machine on one of the KVM Host server. > Both the KVM Host servers are able accessible each other. > 1 Gbps Network configured on both the Host servers > Longing to the host servers with root user or normal user have sudo rights. > Make sure ssh service port is enabled on both the host and firewall. Steps to migrate gust vm ----- > Assume Guest VM runing on KVM Host1 ( I have give cls1 hostname to KVM Host1 and cls2 hostname to KVM Host 2 ) List the virtual machines ruining on cls1 server. Command :- # virsh list          ----- This command display the runing virtual machines on the host Name :- virt1      ----- This is ruining virtual machine ID :-  1               ----- This is first virtual machine on the host. ...

Create Linux ( LUCI ) Cluster

Image
Create Linux Cluster ----- Prerequisites ----- > Install CentOS 6 / RHEL 6 nodes ( Machines ) with same hardware configuration. > Minimum 2 nodes are required > Configure Linux installable YUM Repository on both the nodes. URL :- http://sappyit.blogspot.in/2014/12/create-local-yum-repository-in-rhel7.html  > Configured static IPs to both the nodes. > Both the nodes are in same network and able to ping each other. Steps to install Cluster service ----- > Disable Selinux settings on both the nodes. Command :- # cd /etc/selinux                       #vi config                     ----- Edit Selinux config file with vi editor.                      SELINUX= disabled      ----- Disabled selinux settings in the file.   ...

Create Virtual Machine in ESX 5.5

Image
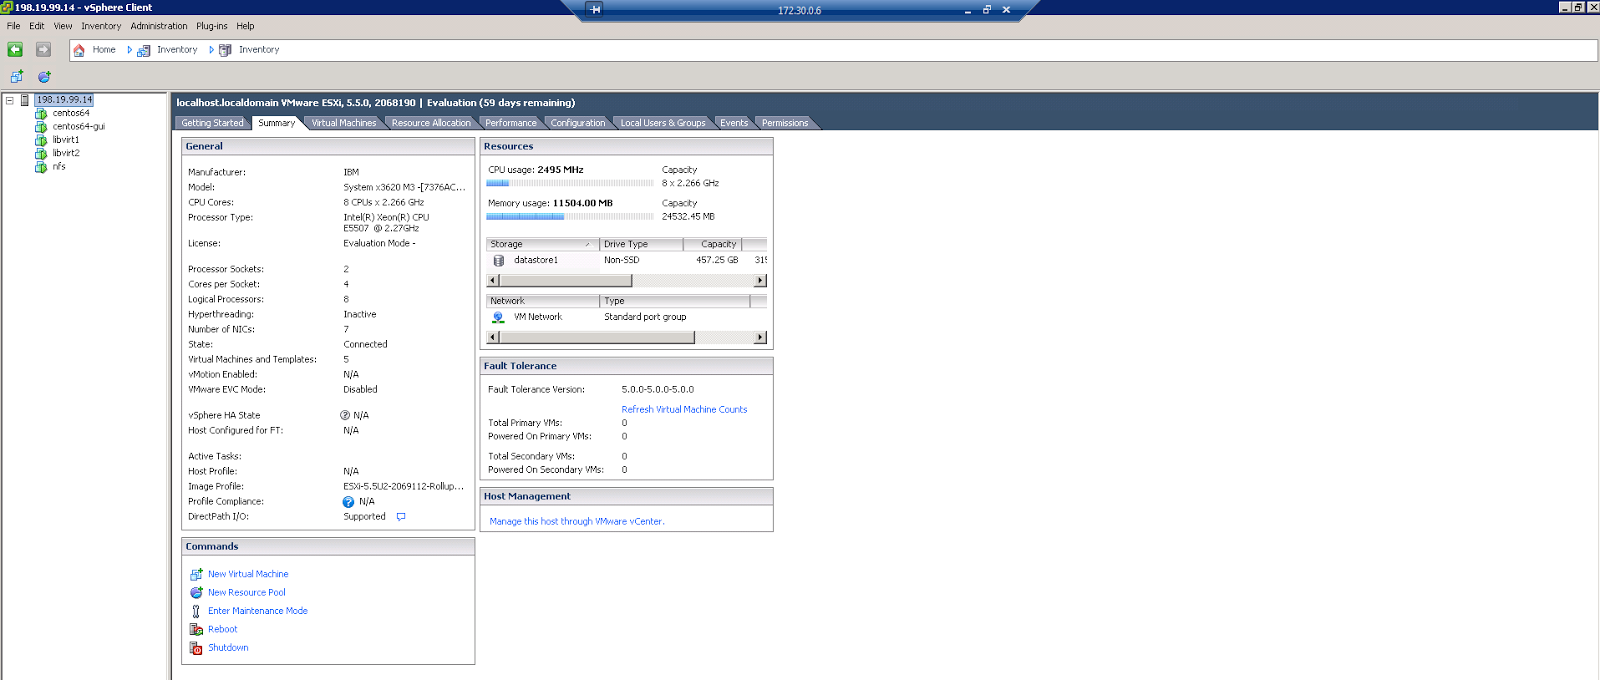
Create Virtual Machine in ESX 5.5 ----- Prerequisites ----- > ESX 5.5 Server. > Installed VMware 5.5 client software on desktop machine. Steps to Create Virtual Machine ----- > Loging to VMware Client 5.5 with ESX user id and password. > Once logigng to the VMware client. You will get the following screen. Select the ESX Server IP / Hostname in left side panel.   > Right click to ESX Host server IP / Hostname and select option New Virtual Machine... > In Configuration window select Custom option and click Next to continue. > Give the name to virtual machine and click Next to continue. > Select Datastore to store virtual machine files and click Next to continue. > Select Virtual Machine Version: 8 and click Next to continue. Note :-  Virtual Machine Version 8 supports only ESX 5 and above version. If you are using ESX 4 servers in your network than select Virtual Machine Version: 7 . > Select Guest ...

Installation of VMware 5.5 client

Image
Installation of VMware 5.5 client ----- Steps to Install ----- > Connect to ESX 5.5 server or VCentare 5.5 server Open the Browser in Windows machine and type :- http://<ESX_Server_IP> press Enter to continue. You will get the following screen. Click on Download vSphere Client . > Once Windows download VMware client on the machine you will find the following file on you machine to install. > Dabble click on VMware-viclient-all-5.5.0-1993072 This will start the installation process. In Installation Wizard select English [United States] and click on OK button. > Click Next button to continue. > In End User Licenses Agreement window click on I accept the terms in the license agreement . and click Next to continue. > Select default path and click Next to continue. > Click on Install button to continue. > Installation process start now. > Once Installation Completed click on Finish button. ...

KVM Live Migration

Image
KVM Live Migration ----- Prerequisites ----- > Minimum 2 KVM Virtulization configured servers > One Sharetd storage ( NFS / ISCASI / SAN ) > Both the servers are on same network Note :- I have taken NFS Shared storage for live migration. Steps to configure KVM live Migration ----- > Configured KVM Virtulization on server. Follow the follwoing URL to configure KVM Virtulization on Linux server. http://sappyit.blogspot.in/2015/01/kvm-virtulization-installation-and.html > Configured NFS Server on network. Follow the follwoing URL to configure NFS share on Linux server. http://sappyit.blogspot.in/2015/01/nfs-server-installation-and.html  >  Make sure Confgured Brige network on both the KVM Servers.   Follow the follwoing URL to configure KVM Virtulization on Linux server. http://sappyit.blogspot.in/2015/01/kvm-virtulization-installation-and.html > Confgure DNS entries for both the KVM host serves. Command :- # vi /etc/hosts ---...

NFS Server Installation and Configuration

Image
NFS Server Installation and Configuration ------ Install NFS Server ----- Prerequsites ----- > Installed CentOS 6 / RHEL 6 Server > YUM Repository configured on network > Static IP configured to the server  Installation Steps ----- > Logoing to the server with root user. > Install NFS packages. Command :- # yum install -y nfs* > Install rpcbind package. Command :- # yum install -y rpcbind* > Disabled Selinux Command :- # vi /etc/selinux/config       ------ Edit config file. SELINUX =disabled :wq      ----- Save the file and exit  > Disabled Linux Firewall / iptables. Command :- # service iptables stop           ------ Stop iptables services                       # chkconfig iptables off     ...

KVM Virtulization Installation and Configuration in Run level 3

Image
KVM Virtulization in CentOS6 / RHEL 6 ----- Installation ----- Prerequsites ----- > AMD / Intel 64 Bit Process with Virtulization technology enable. > 4 GB Minimum RAM > Installed one CentOS bit64 Version 6.X or RHEL 6.X server on Base / Minimu level. > One Static IP address Note :-  Installation KVM documnet assum that YUM Repository is allready configured on network. Steps to install ----- > Loging to the server with root user or use sudo rights to install KVM packages. Command :- # yum -y install qemu-kvm libvirt python-virtinst bridge-utils > Run the following command to make sure KVM packages install properly. Command :- # lsmod | grep kvm Result will display as per the following screen. > Start the libvirtd service. Command :- # /etc/rc.d/init.d/libvirtd start                            ...