Demote Last Domain Controller
Demote Last Windows 2012 Domain Controller.
Steps to Demote Domain Controller.
> Loging to the Domain controller with Administrator user.
> Click on Server Manager ikon on the Desktop.
> In Server Manager windows click on Manage button and than select "Remove Roles and Features"
> In Remove Roles and Features Wizard click Next to continue.
> Select Domain Controller which needs to demote and click Next to continue.
> Select Active Directory Domain Services and click Next to continue.
> Select .NET Framework 4.5 Features.
> Select Remove Features button to continue.
> Select Demote this domain controller option.
> In Active Directory Domain Services Configuration Wizard select Last domain controller in the domain option and click Next to continue.
> Select Proceed with removal and click Next to continue.
> Select "Remove this DNS zone" , "Remove application partitions" , and "Remove DNS delegation" and click Next to continue.
> Give Domain Administrator Password and Confirm password, Click Next to continue.
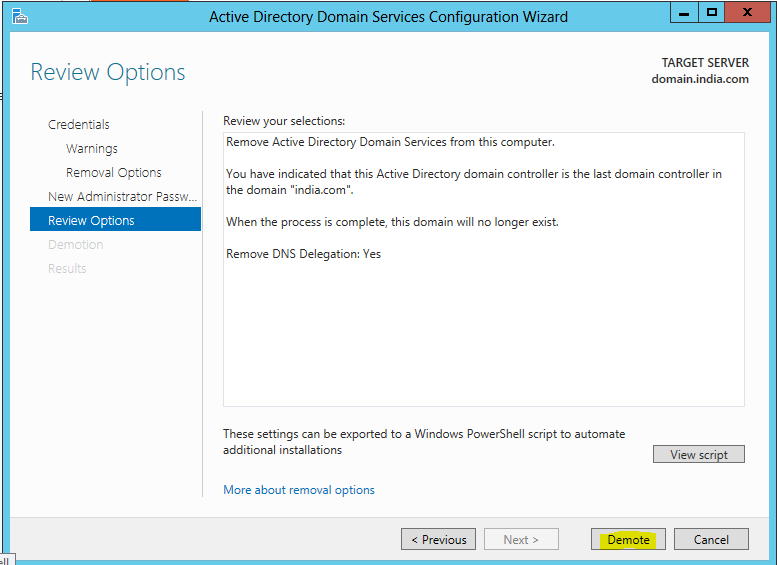
> Click on Demote button to continue.
> Demotion process start now.
> After rebooting the server loging to the Windows 2012 server with Administrator password.
EOD


Comments
Post a Comment